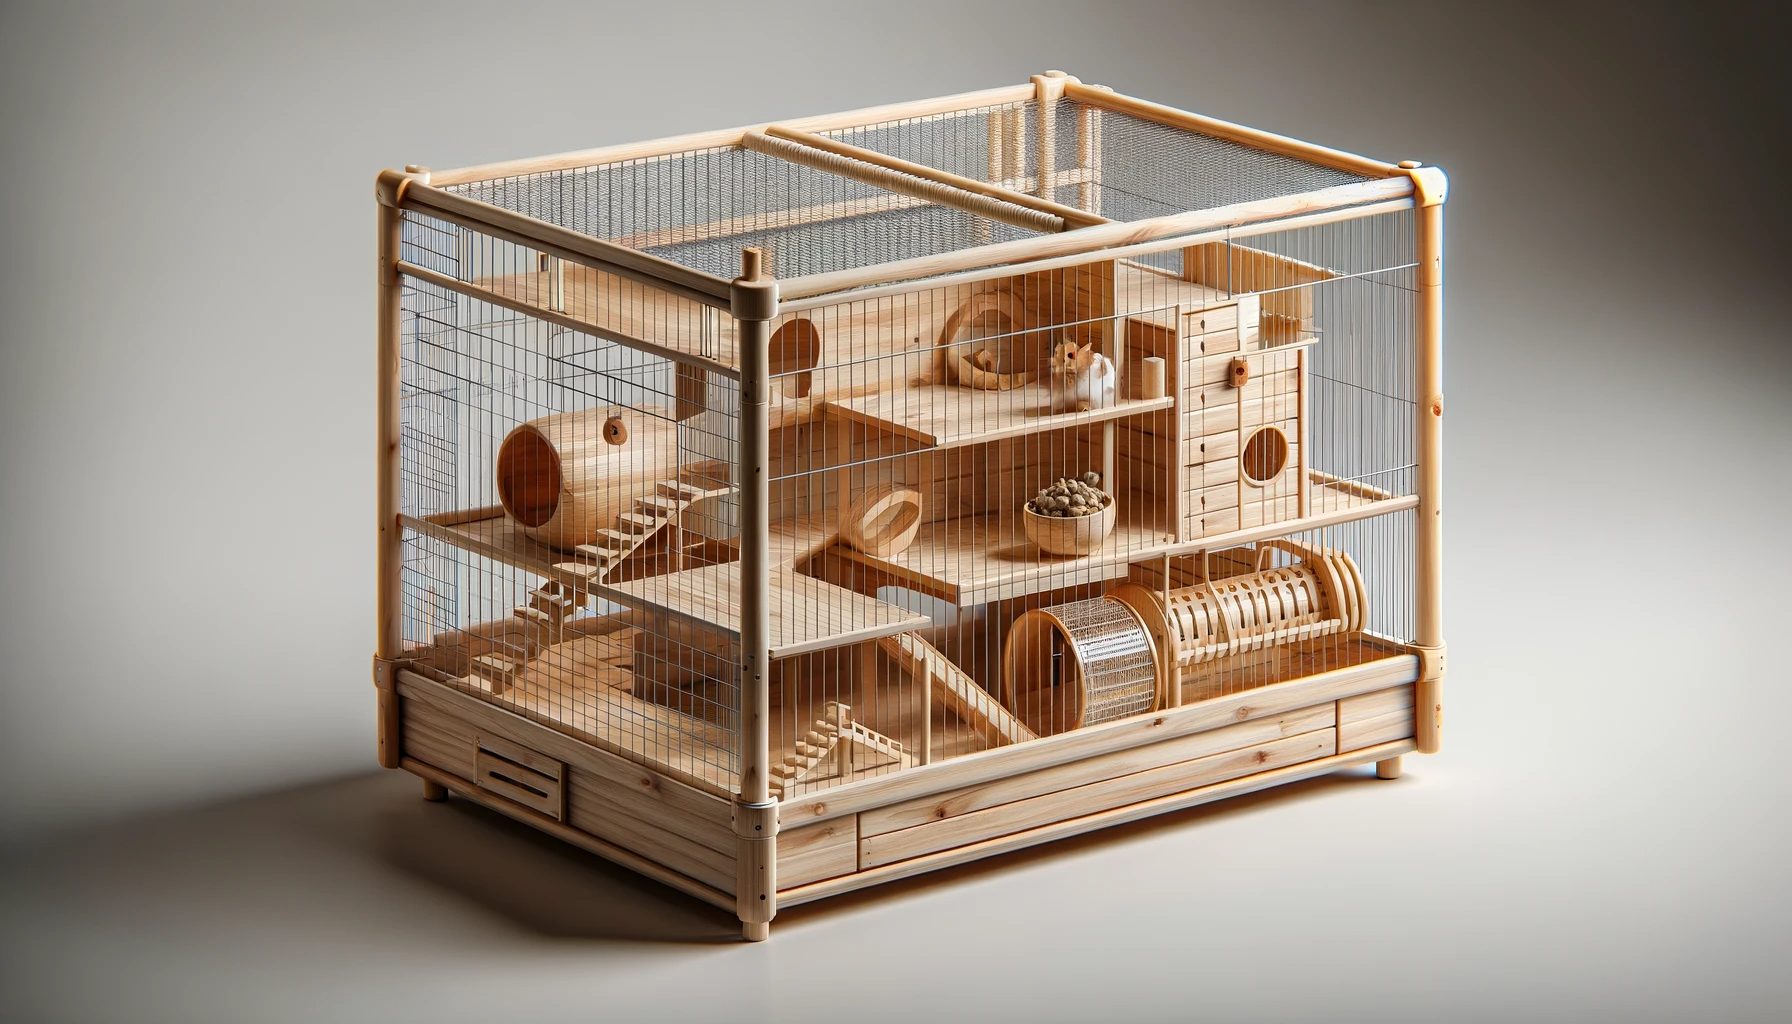
Creating a wooden cage for your hamster is not only a functional project but also a delightful habitat that can cater to their natural instincts. Here’s a comprehensive guide on how to craft a wooden cage for your furry friend.

Materials and Tools Needed
- Non-toxic, solid wood (e.g., aspen or kiln-dried pine)
- Wire mesh for ventilation
- Screws, nails, and non-toxic wood glue
- Saw for cutting wood
- Drill for assembling pieces
- Sandpaper to smooth edges
- Measuring tape
- Linoleum or tiles for easy cleaning
- Hinges and latches for doors
Steps to Make a Wooden Hamster Cage
Design Planning
Sketch the design of the cage with dimensions that provide ample space for your hamster to play, hide, and exercise. Include areas for a sleeping nest, feeding station, and a wheel.
Selecting the Wood
Choose a non-toxic wood like aspen that’s safe for hamsters. Avoid cedar or pine as these can release harmful phenols.
Cutting the Wood
Measure and cut your wood according to your design. A cage for a Syrian hamster should ideally measure at least 30x15x15 inches (LxWxH). Ensure the bars are spaced no more than ½ inch apart to prevent escape.
Smoothing Edges
Sand down all cut edges and corners to prevent splinters or injury to your hamster.
Creating the Base
Construct a solid base that can hold bedding. Line the base with linoleum or tiles for easy cleaning.
Assembling the Frame
Create the frame of the cage, ensuring it’s sturdy. The top should be wire mesh for ventilation, or have a section that can open for access.
Adding the Walls
Install the walls, ensuring there are no gaps for the hamster to squeeze through. One side can be wire mesh for fresh air, but the rest should be solid to provide a sense of security.
Door Mechanism
Build a door using hinges and secure it with a latch. Make sure it closes firmly to prevent escape.
Interior Features
Install shelves, ramps, or platforms for climbing. Ensure they’re securely attached.
Final Touches
Add a water bottle, feeding bowl, hideouts, and toys. Install the exercise wheel securely.
Safety Checks
Inspect the cage for any potential hazards like loose nails or screws, sharp edges, or toxic substances.
Acclimating Your Hamster
Introduce your hamster to their new home gradually, allowing them to explore and become comfortable.
Advantages of a Wooden Cage
- Durability: A well-constructed wooden cage can last for years.
- Insulation: Wood provides better insulation than wire or plastic cages.
- Chewing: Wood satisfies the natural chewing instinct of hamsters.
- Aesthetics: A wooden cage can be a beautiful addition to your home.
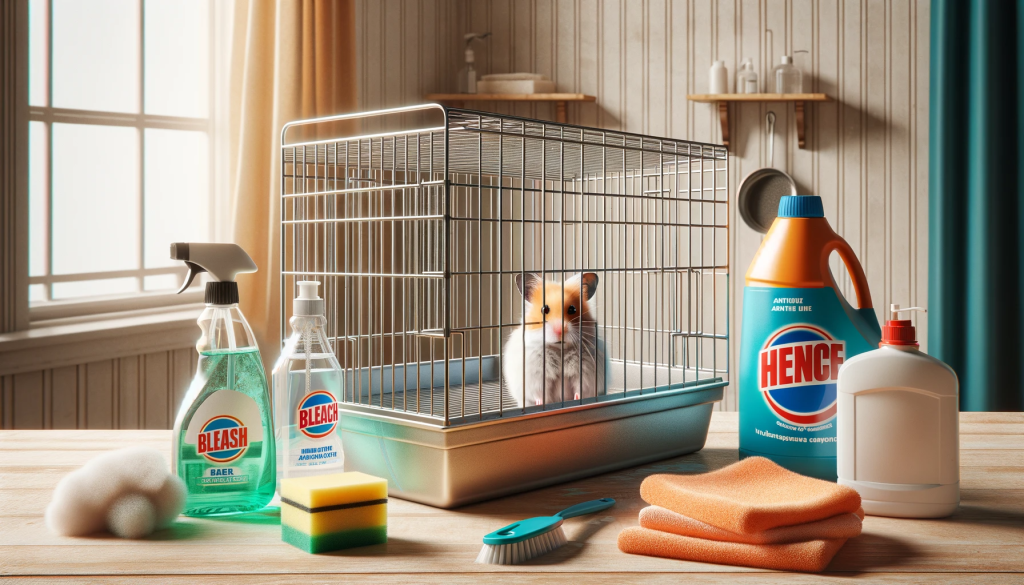
Maintenance and Care
- Regular Cleaning: Wood can absorb urine and odors, so clean the cage regularly with a pet-safe disinfectant.
- Inspection: Regularly check the integrity of the wood, looking for signs of wear or chewing.
Building a wooden hamster cage requires some DIY skills, but it’s a rewarding project that can provide a safe and natural living space for your hamster. Always ensure the safety and comfort of your pet are the priorities in your design.